

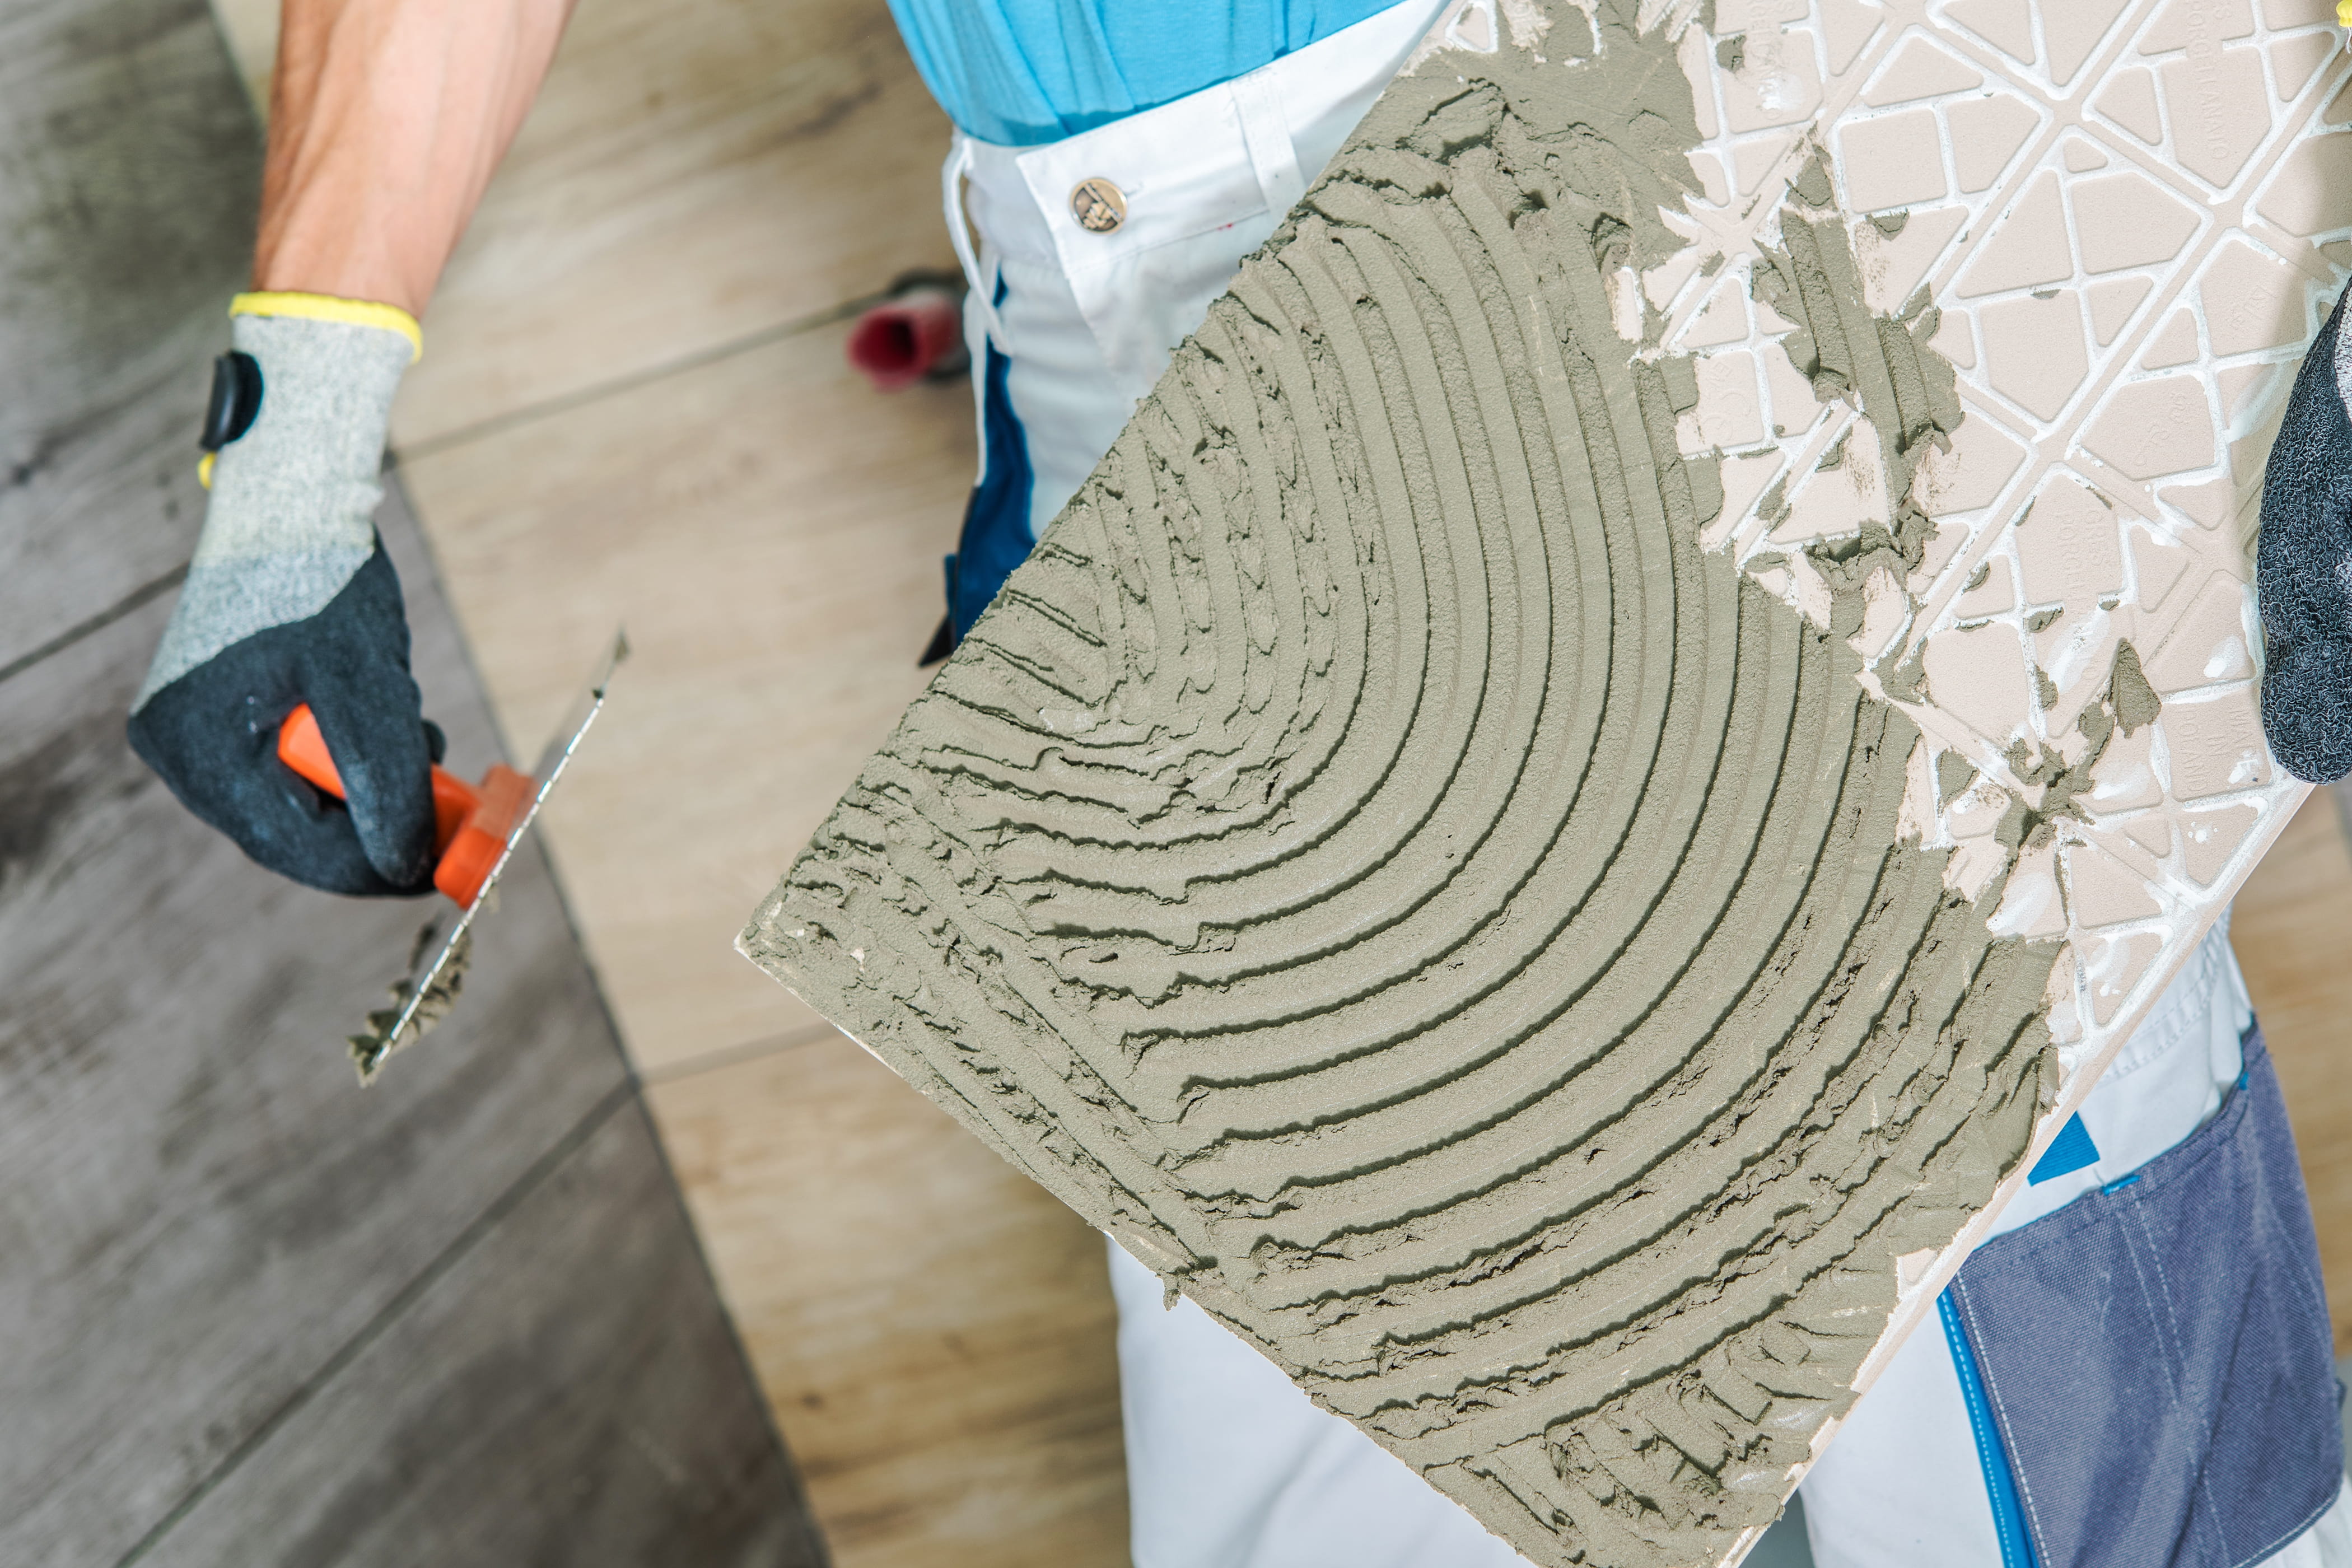
Chipped tile is a common issue for homeowners in Franklin, MA—especially in busy kitchens, entryways, mudrooms, and bathrooms. Whether the damage comes from a dropped pan, heavy foot traffic, or seasonal expansion and contraction, even a small chip can affect both the look and long-term durability of your floor.
If you're searching for practical solutions to fix chipped tile in Franklin, MA, this guide walks you through step-by-step repair options, what tools you’ll need, and when it makes sense to call a professional installer.
Why Tile Chips in New England Homes
Tile is known for durability, but Franklin-area homes experience unique environmental factors that contribute to surface damage.
Seasonal Temperature Changes
Massachusetts winters bring freezing temperatures, followed by humid summers. This constant expansion and contraction can:
Stress grout lines
Loosen tiles over time
Increase vulnerability to chipping at edges
Heavy Entryway Use
Many Franklin and Natick homes have high-traffic entryways where sand, salt, and gravel get tracked indoors. Abrasive debris can weaken glazed tile surfaces, especially in kitchens and foyers.
Older Subflooring in New England Homes
In older properties throughout Norfolk County and nearby communities, subfloor movement can lead to minor tile shifts. Even slight instability increases the risk of cracking or chipping.
Understanding the cause of the damage helps determine whether a simple repair is sufficient—or if a deeper issue needs attention.
Step-by-Step: How to Fix a Small Chipped Tile
For minor chips (surface-level damage without cracks spreading across the tile), a repair kit can often restore the appearance.
Tools and Materials You’ll Need
Tile repair kit (epoxy or color-matched filler)
Fine-grit sandpaper
Putty knife
Mild tile cleaner
Soft cloth
Painter’s tape (optional)
Step 1: Clean the Damaged Area
Remove all dirt, grease, and debris from the chipped section using a non-abrasive cleaner. Let the tile dry completely before applying any filler.
Step 2: Smooth Rough Edges
Lightly sand sharp or uneven edges to create a smooth surface for bonding. Wipe away dust with a dry cloth.
Step 3: Apply Tile Filler or Epoxy
Using a putty knife, carefully apply the repair compound to the chipped area. Slightly overfill the space to allow for sanding after curing.
Many tile repair kits allow you to mix pigments to match ceramic or porcelain tile finishes.
Step 4: Let It Cure Fully
Follow the manufacturer's instructions for drying time. In colder Massachusetts homes during winter, curing may take longer.
Step 5: Sand and Blend
Once dry, gently sand the repaired spot until smooth. Wipe clean and inspect for color consistency.
For small chips, this method is typically effective and cost-efficient.
When a Tile Should Be Replaced Instead
Not all chipped tile repairs are cosmetic. Replacement may be necessary if:
The chip extends through the full thickness of the tile
There are visible cracks radiating outward
The tile sounds hollow when tapped
Grout around the tile is crumbling
In these cases, removing and replacing the individual tile helps prevent moisture infiltration and further damage.
Professional tile installers in Franklin, MA can carefully remove a single tile without disturbing surrounding areas—something that’s especially important for older floors where matching materials may be limited.
The Importance of Grout Health in Tile Longevity
Many homeowners focus only on the visible chip, but grout condition plays a major role in overall durability.
How Franklin’s Climate Affects Grout
Moisture from snow, wet boots, and humidity can weaken grout over time. If grout begins to deteriorate:
Tiles may shift
Edges become exposed
Chipping risk increases
Regular grout inspection and sealing are key to protecting tile floors in kitchens, bathrooms, and mudrooms.
If grout damage is extensive, professional regrouting may be more effective than repeated patch repairs.
Repair vs. Replacement: Making the Right Decision
Here’s how to determine your next step:
Minor Cosmetic Chip
Repair kit solution
Minimal cost
Ideal for isolated damage
Multiple Chips or Aging Tile
Consider partial replacement
Opportunity to evaluate overall floor condition
Widespread Cracking or Loose Tiles
Professional assessment recommended
Possible subfloor or installation issue
If your tile floor is more than 15–20 years old, it may also be worth exploring modern porcelain and ceramic options that offer enhanced durability and moisture resistance.
Choosing the Right Tile for Long-Term Durability
If replacement becomes necessary, today’s tile options offer significant improvements in strength and design flexibility.
High-quality porcelain tile is particularly popular in Franklin, MA homes because it:
Resists moisture and staining
Holds up to heavy foot traffic
Performs well in kitchens and entryways
Handles temperature fluctuations better than some older ceramic products
Visiting a local showroom allows you to compare finishes, textures, and slip resistance ratings in person—something that’s especially important when matching existing flooring.
Why Professional Installation Matters
Even a single tile replacement requires proper subfloor preparation and leveling. Poor installation is one of the leading causes of future tile damage.
Working with experienced installers ensures:
Correct mortar application
Proper spacing and grout consistency
Secure bonding to prevent shifting
Long-term structural stability
Professional support also helps identify underlying issues such as moisture intrusion or subfloor movement—common in older Massachusetts homes.
Preventing Future Tile Chips
Once your repair is complete, preventative maintenance makes a difference.
Use entry mats during winter months
Sweep regularly to remove abrasive debris
Avoid dropping heavy cookware on tile surfaces
Reseal grout lines as recommended
Address loose tiles promptly
Routine care extends the life of both tile and grout.
Local Tile Expertise in Franklin, MA
For homeowners who prefer expert guidance, working with a locally owned flooring showroom offers peace of mind. Seeing tile options in person, discussing repair vs. replacement, and understanding installation best practices can help you make an informed decision.
At Flooring America Design Center in Franklin, MA, homeowners throughout Franklin, Natick, Norfolk, Framingham, and surrounding Massachusetts communities can explore a wide selection of ceramic and porcelain tile. Professional installation services are available, along with free room measurements and convenient shop-at-home appointments where samples are brought directly to you.
If you’re dealing with chipped tile and want to ensure your floors remain durable for years to come, consider scheduling a consultation or visiting the Franklin showroom to speak with a flooring specialist about your options.


